This is another tutorial to support my customers when sewing with my patterns. This time I´ll show you many details sewing the View B of my 1890´s Ladies Vest pattern (comming up soon). In general ladies vests from around 1890 were made in the same way as gents´ with an interfacing supporting the front, so this tutorial is full of classic tailoring techniques, like flatlining, sewing in interfacing and how to attach bridle tape.
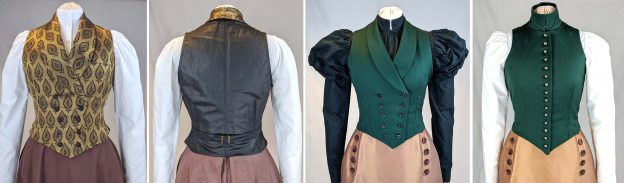
When browsing the internet for research about vest fabrics, I fell in love with this silk brocade fabric. Brocade fabrics are not easy to sew, for non-experienced sewers I recommend sewing with plain fabrics like satins from cotton or wool.
Originally a twill cotton fabric (Silesia) was used for the back and lining, but feel free to use any light to midweight cotton fabric.
Let´s start sewing!
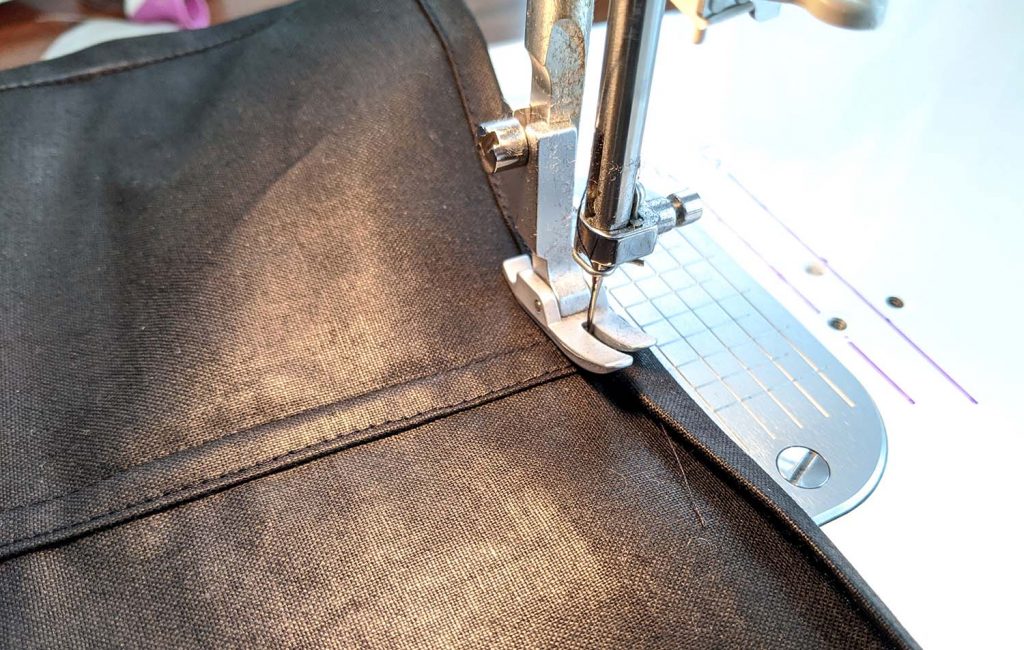
The back is made up the same way for View A and B of the vest. Join the back parts along the center back, right sides together and finish as a flat felled seam: Press the seam allowances to one side and trim back the lower one to ¼” (7mm). Fold over the wider seam allowance and press before edgestitching from the wrong fabric side.
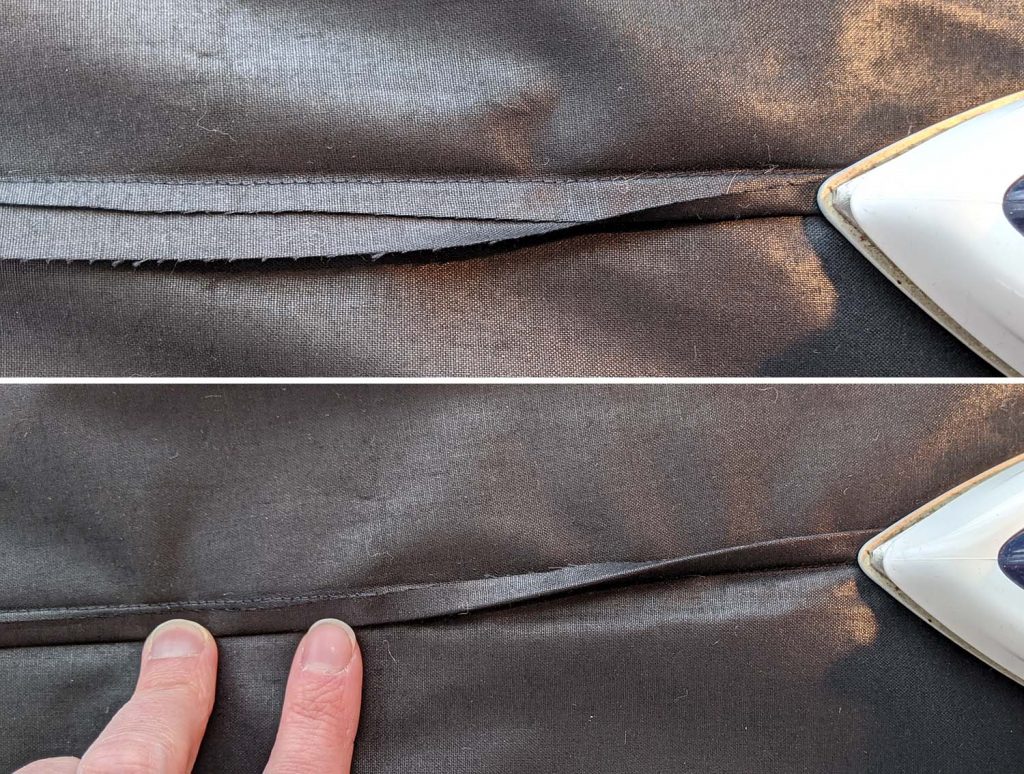
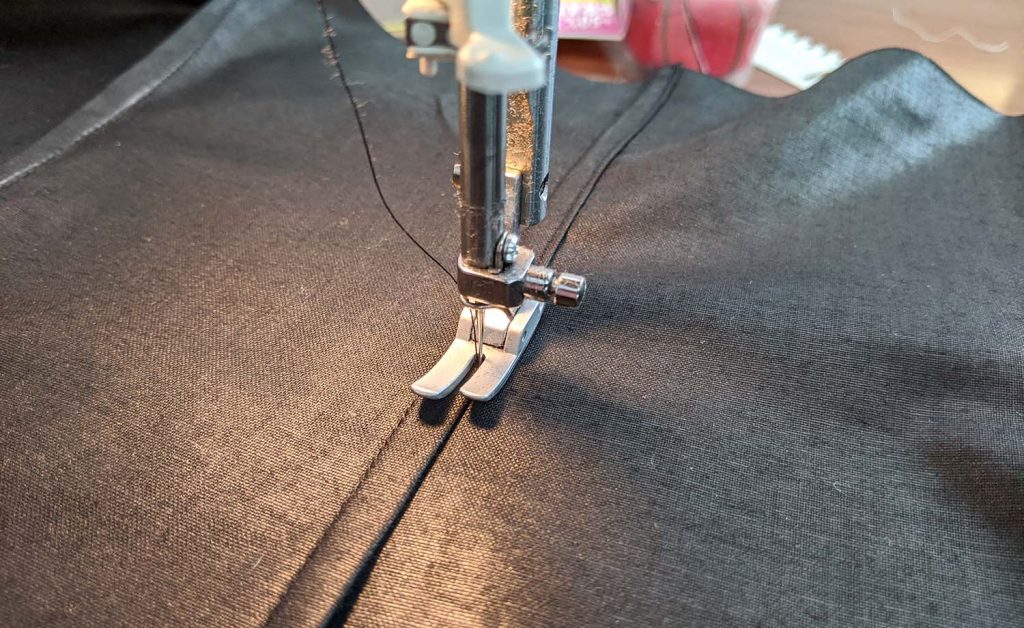
Here you can see the double-turned seam allowance along the bottom edge, edgestitched in place.
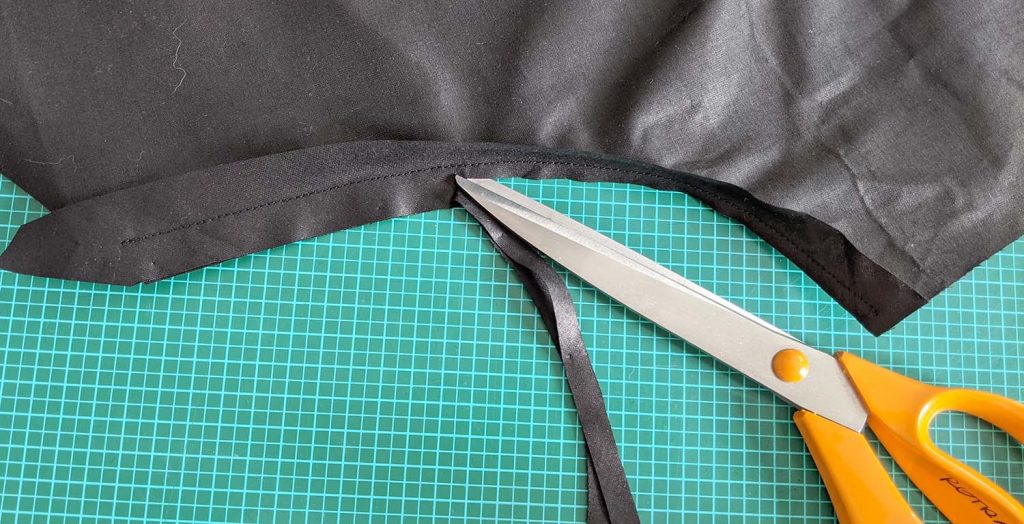
To neaten the armhole at the back, take strips of lining fabric, cut on the bias, 1 ¼” (3cm) wide, 14” long, and line up with the armhole, right sides together. Trim back the seam allowance and clip at curves after sewing with 5/8” (1,5cm) seam allowance.
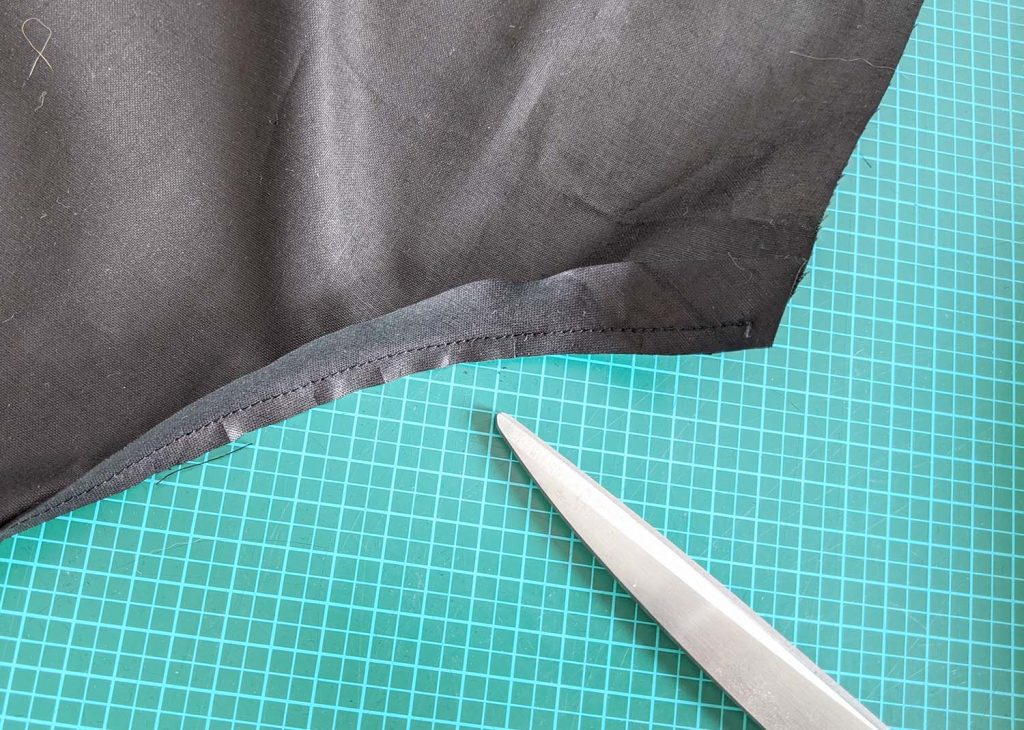
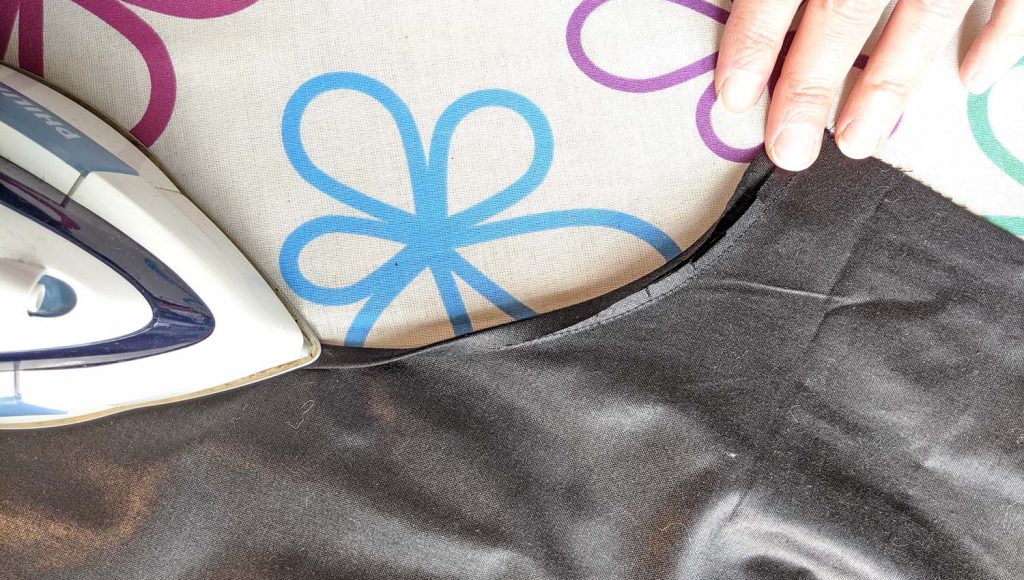
Fold the strip under and wrap it around the raw seam. Press and edgestitch the bias stripe to the back from the wrong side.
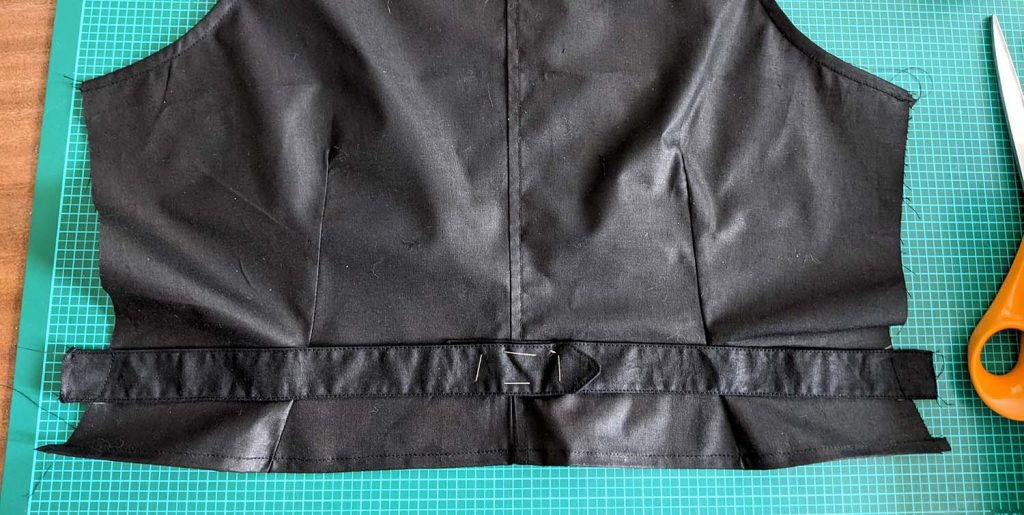
Here you can see the ready prepared back from the right fabric side, with closed darts and the buckle straps basted in place.